
Installing an Irrigation Controller
Last Updated
- Understanding Irrigation Controllers
- Selecting the Right Irrigation Controller
- Preparing for Installation
- Site Requirements
- Read the Controller User Manual
- Installing an Irrigation Controller: Step-by-Step Guide
- Connect the Controller to the Power Source
- Programming Your Irrigation Controller
- Watering Durations and Frequencies
- Specialised Features
- Regular Maintenance and Adjustments
- Tips
- Irrigation Controllers: Supply, Delivery & Installation
Understanding Irrigation Controllers
Before you begin the process of installing an irrigation controller, it’s important to have an understanding of the basics. Irrigation controllers serve a fundamental role in managing irrigation systems effectively, ensuring that landscapes receive the appropriate amount of water. These devices automate the watering process by programming schedules that align with specific plant needs, soil conditions, and weather patterns. Most modern irrigation controllers are equipped with sophisticated features that enhance their functionality, making efficient water management possible.
Popular Brands
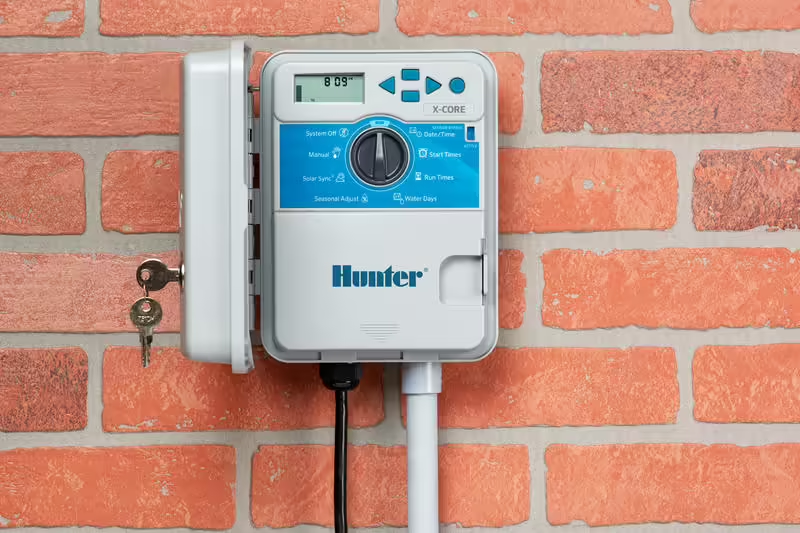
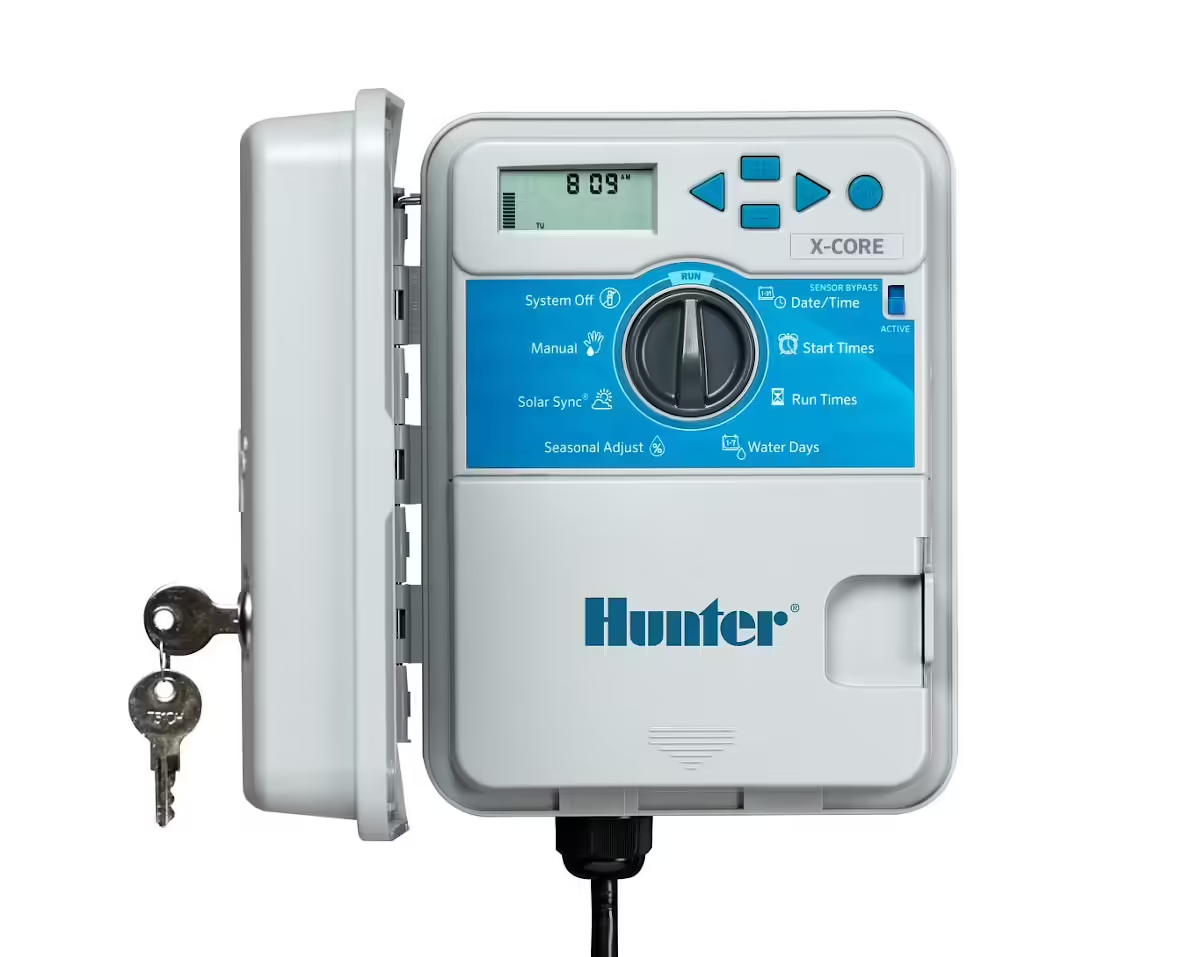
Among the popular brands in the market, Hunter X-Core and Hunter Pro-C stand out for their reliability and advanced programming options. The Hunter X-Core is designed for residential use, featuring simple programming that allows users to customise watering schedules effortlessly. Similarly, the Hunter Pro-C offers greater flexibility, supporting various programming options suited for larger landscapes and complex irrigation requirements.
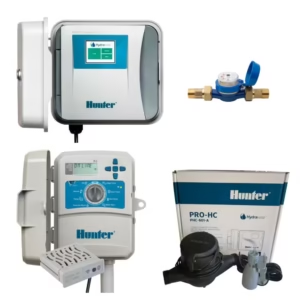
Hunter Industries Hydrawise Series
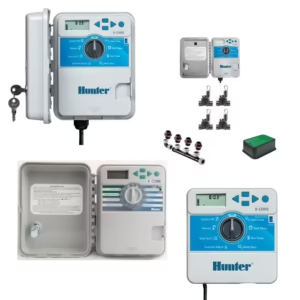
Hunter X-Core Irrigation Controllers
Read the Hunter X-Core Review
Hunter X-Core Irrigation Controller Review
Discover the Hunter X-Core Irrigation Controller series, designed for efficient and reliable irrigation management across various landscapes.
Irritrol’s Rain Dial series provides an intuitive user interface that emphasises ease of use, making it ideal for homeowners with moderate landscaping needs. The Rain Bird controllers are well-regarded for their water-saving technology and various models designed to accommodate specific irrigation tasks, from small gardens to large commercial properties. Toro’s solutions deliver precision irrigation control, while Orbit sprinkler timers are known for their budget-friendly options that do not compromise on functionality.
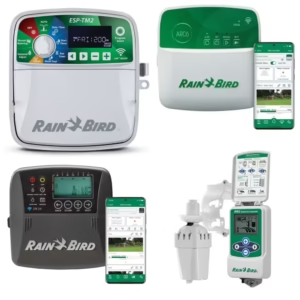
Rain Bird Smart Irrigation
Irritrol Rain Dial RD Series
Read the Irritrol Rain Dial Review
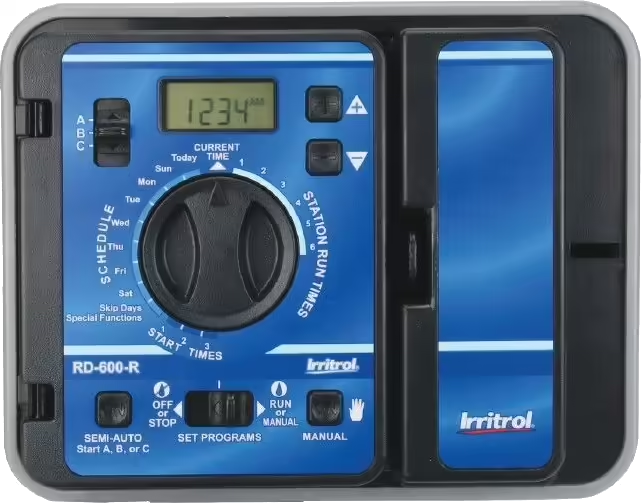
In-Depth Review of the Irritrol Rain Dial-R Series
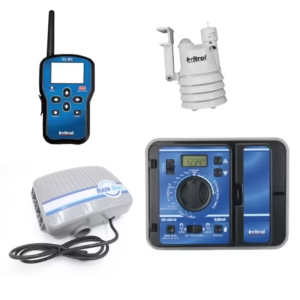
The Irritrol Rain Dial-R Series represents a significant advancement in the realm of irrigation control technology.
Selecting the Right Irrigation Controller
When selecting the right irrigation controller, various considerations come into play. Size is one important factor, as the controller should accommodate the number of zones in a landscaping setup. Additionally, ease of programming will significantly affect user experience; thus, it’s essential to choose a model that users can operate without extensive technical knowledge. Finally, adaptiveness to weather changes is crucial, as some controllers incorporate rain sensors or smart technology that adjusts watering schedules based on real-time data.
Preparing for Installation
Tools and Materials Needed:
Multimeter (for testing connections)
Screwdriver and drill

The Best Cordless Screwdrivers
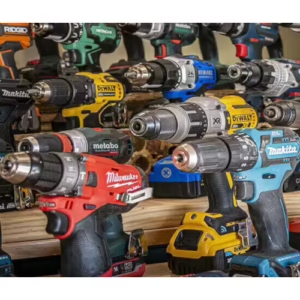
Top Deals on Cordless Power Drills
Site Requirements
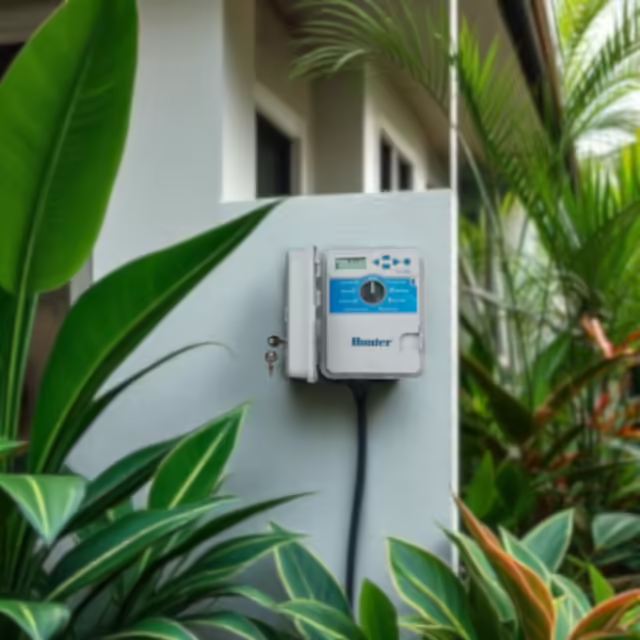
Understanding the site requirements is also crucial, before installing an irrigation controller, take a good look at your landscape to determine the most effective location. Consider factors such as accessibility for programming and maintenance, as well as protection from environmental elements. Ideally, position the controller in a shaded area to prevent damage from prolonged exposure to direct sunlight, which can adversely affect the device’s longevity and performance.
Furthermore, ensure that there is adequate access to a water supply. The irrigation controller is responsible for managing the water distribution throughout your landscape, so it should be placed near existing water lines if possible. In addition, verify that your electrical supply meets the controller’s requirements, including any necessary voltage specifications. Having this information will minimise potential issues during operation.
Read the Controller User Manual
Before proceeding with the installation of an irrigation controller, carefully review the user manual provided by the manufacturer. This document is essential as it contains brand-specific instructions that address your controller’s unique functions and capabilities. The manual will also guide you through the installation steps, ensuring that you adhere to recommended practices and safety precautions. By investing time in preparation, you can achieve an effective and efficient installation, resulting in a well-functioning irrigation system.
Download the Hunter X-Core Irrigation Controller Manual
Download the Irritrol Rain Dial-R Series Instruction Manual
How to Install a Hunter X-Core
How to Install a Hunter X-Core Irrigation Controller
By following these Step-by-Step Instructions, you can successfully install your Hunter X-Core irrigation controller.
Installing an Irrigation Controller: Step-by-Step Guide
Irrigation controller installation is a critical step in automating your landscape watering system. To ensure a successful setup, follow this step-by-step guide.
Turn off the Water Supply
First, it is essential to turn off the water supply to prevent any leaks or flooding during the installation process. Locate the main shut-off valve for your irrigation system and turn it off before proceeding. This precaution ensures a safe (and dry) environment to work in.
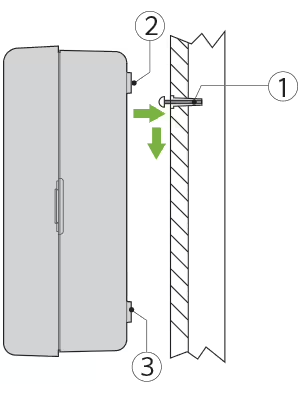
Choose a Suitable Location
Next, choose a suitable location to mount your irrigation controller. Ideally, this location should be near a power source and easily accessible for programming. Use a level to ensure the controller is straight before securing it to the wall with screws appropriate for the surface material.
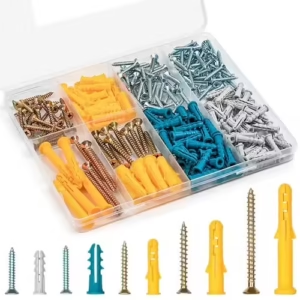
Wall Anchors and Screws
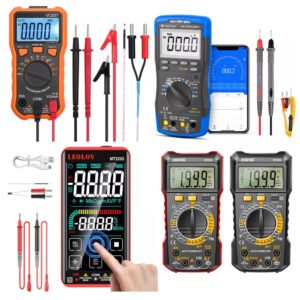
Irrigation Wiring MultiMeters
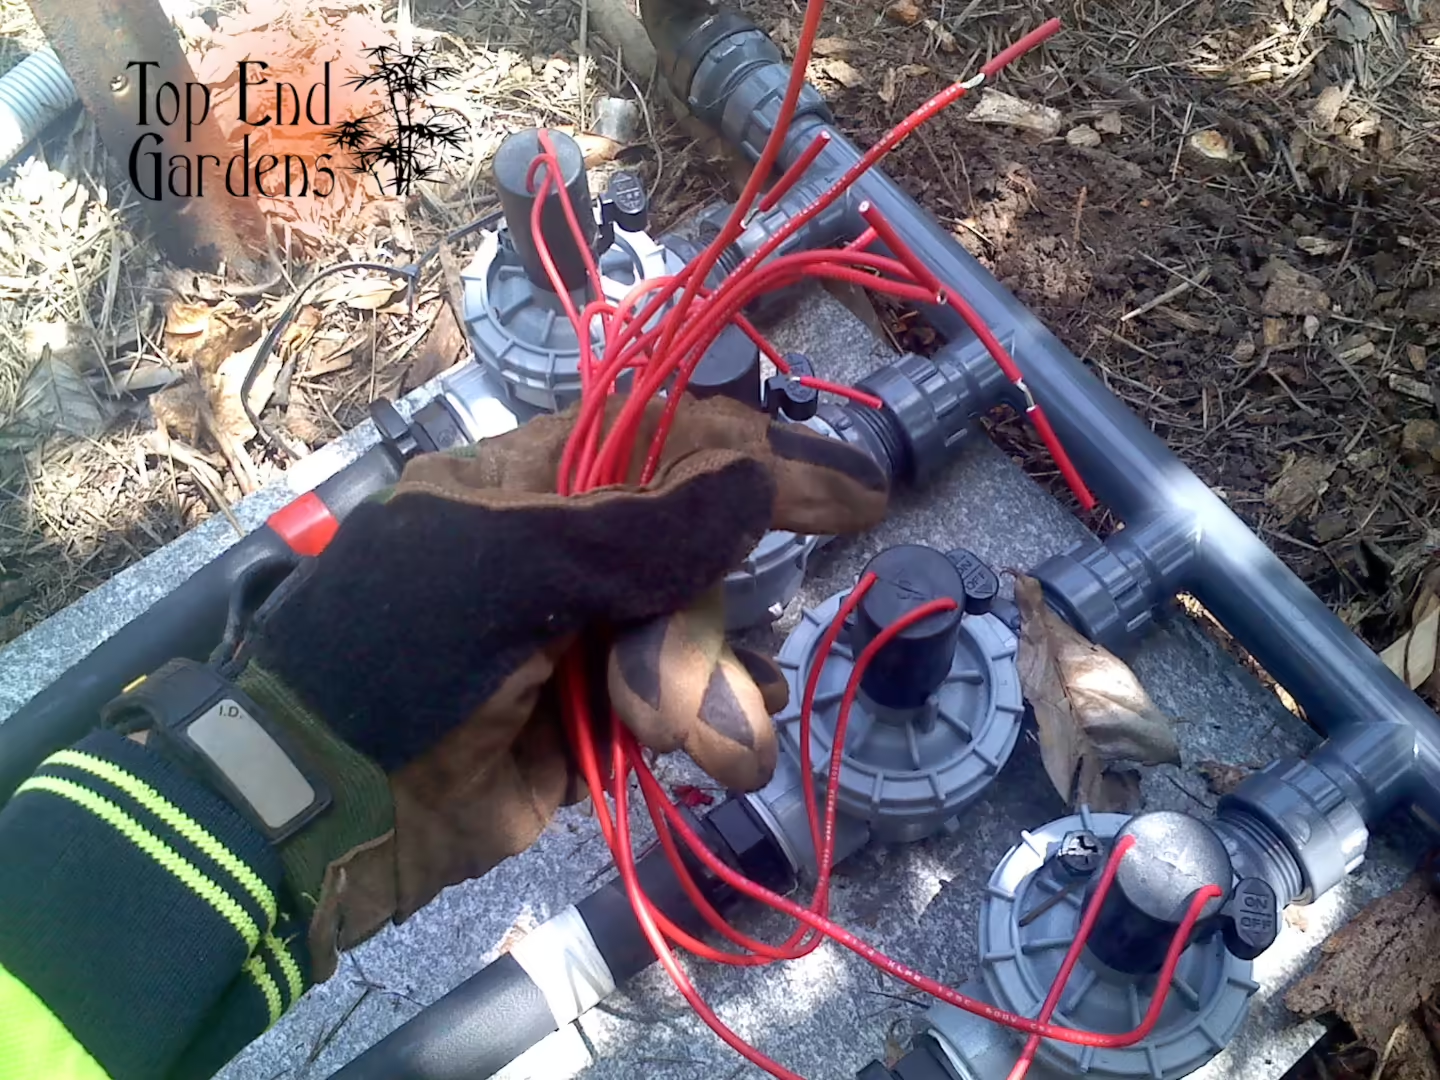
Connect the Wiring
Once your controller is securely mounted, you will need to connect the wiring for valves and sensors. Most modern irrigation controllers come with detailed instructions for wiring configurations tailored to specific brands. Popular brands such as Rain Bird, Hunter, or Toro may have slightly different wiring setups. It is crucial to refer to the user manual of your specific controller to make the correct connections. Typically, you will connect the common wire to each valve and run individual wires from the controller to each zone valve.
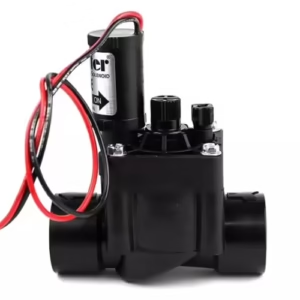
Popular Solenoid Valve Brands Compared
Irrigation Solenoid Valves: A Comparative Review
Discover the essential role of solenoid valves in irrigation systems and how they help automate water flow for optimal plant…

Professional Wire Strippers
Hunter Irrigation Solenoid Valves
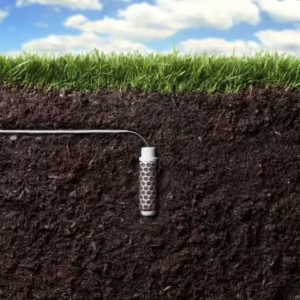
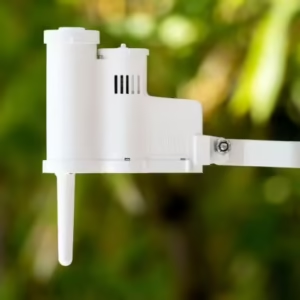
Rain and Soil Sensors
After wiring the valves, install any necessary sensors, such as rain or soil moisture sensors, according to the manufacturer’s guidelines. This integration helps optimise water usage, ensuring the system operates efficiently. Make sure all connections are tight and secure.
Upgrade your Irrigation System with Rain and Soil Moisture Sensors
Hunter Soil-Clik Soil Moisture Sensor
Hunter Rain Clik Sensor
Connect the Controller to the Power Source
Lastly after installing your irrigation controller, check the power supply. Connect the controller to the power source and ensure it responds appropriately. If the controller does not power on, verify the connections and ensure the circuit is functioning. Troubleshooting common issues, such as blown fuses or tripped circuits, can mitigate installation problems. By following these steps, you can expect a smooth installation process for your irrigation controller.
Programming Your Irrigation Controller
Once you’ve completed your irrigation controller installation, programming it effectively is essential to ensure optimal water management for your landscape. The first step involves setting up watering schedules, which typically includes defining the frequency, duration, and start times for each zone. Most modern irrigation controllers allow users to create multiple programs tailored to the specific watering needs of various plant types in the garden. For example, lawns may require different watering intervals and amounts compared to flower beds or vegetable gardens. This customisation promotes healthier landscaping and ultimately conserves water.
How to Program the Hunter X-Core Irrigation Controller
How to Program a Hunter X-Core Irrigation Controller
Any easy to follow guide to help you program your Hunter X-Core irrigation controller.
How to Program a Hunter Node Irrigation Controller
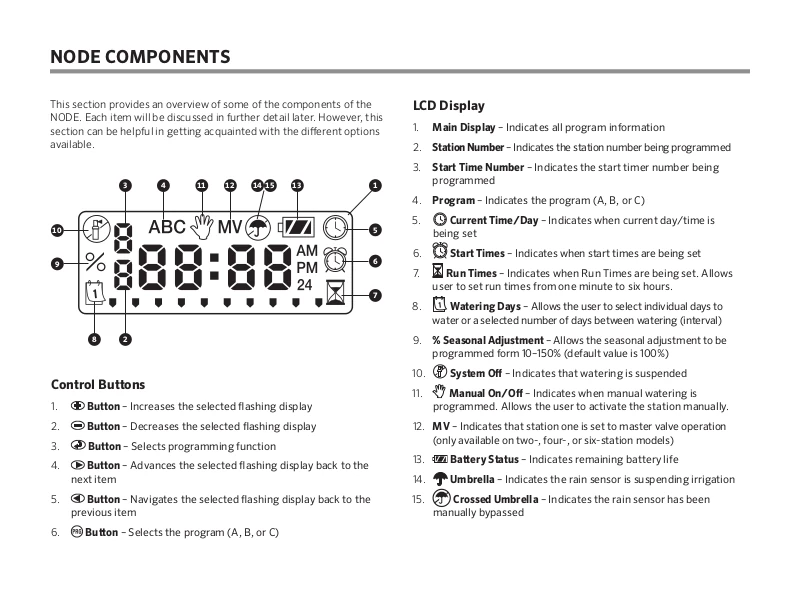
Hunter NODE: Setting the Date and Time
This ‘how to’ guide covers setup, programming, and troubleshooting tips for the Hunter Node Irrigation Controller.
Watering Durations and Frequencies
Adjusting your watering schedule for seasonal changes is another crucial aspect of programming your irrigation controller. As weather patterns shift throughout the year, it becomes necessary to modify watering duration and frequencies. Many controllers now feature built-in weather sensors that automatically adjust watering schedules based on local rainfall and temperature data.
Specialised Features
In addition to standard watering schedules, most irrigation controllers come equipped with specialised features that can further enhance efficiency. Options such as rain delay can temporarily suspend irrigation based on recent rainfall, preventing unnecessary water usage. Smart watering features, which leverage data to optimise watering based on plant requirements and environmental conditions, are also available in more advanced models. These innovations can substantially enhance water conservation efforts while promoting robust plant growth.
Regular Maintenance and Adjustments
As you program your irrigation controller, keep water optimisation in mind. Utilise mulch in your garden beds to reduce moisture evaporation. Also consider adding soil sensors for targeted watering, which minimises runoff and ensures efficient use of resources. Regular maintenance and adjustments to your irrigation system will contribute significantly to its longevity and efficiency, ensuring your landscaping remains healthy and vibrant.
Tips
- Label Wires: If you have multiple zones, label the wires during disconnection to easily identify them during reconnection.
- Weather Resistance: If installed outdoors, ensure the cover is properly secured to protect against weather elements.
- Professional Help: If you’re unsure about installation, wiring or electrical connections, feel free to Contact Us or ask a question in the comments below.
Irrigation Controllers: Supply, Delivery & Installation
Top End Gardens have been supplying and installing quality irrigation controllers and sprinkler timers for over 20 years. If you’re having issues with your controller or would like to find out more about upgrading, Get in Touch today.
Book an Appointment Now!
Free quotes for irrigation, gardening and landscaping projects are available upon request
The Best Types of Garden Irrigation Systems
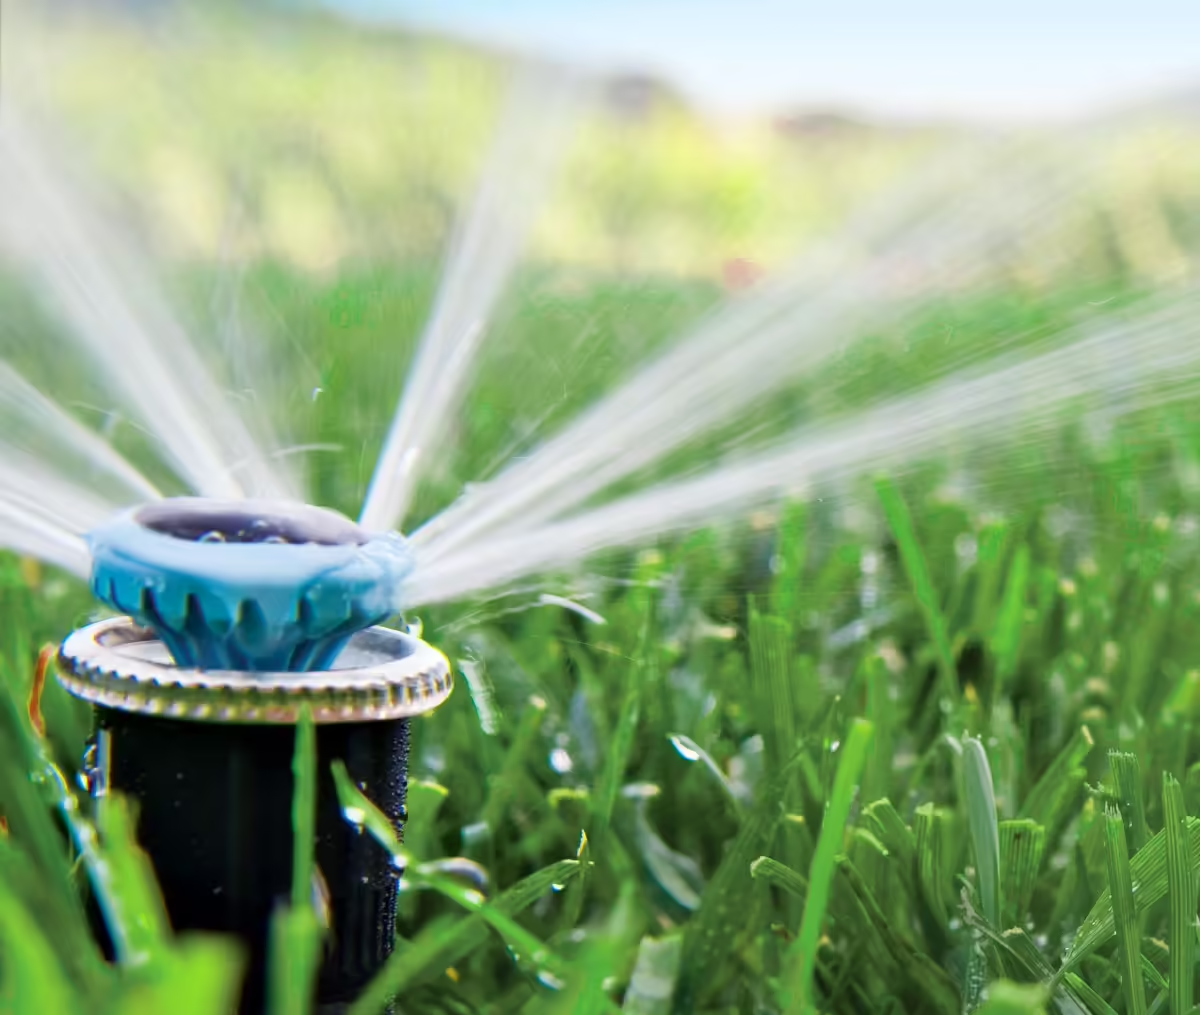
The Best Types of Garden Irrigation Systems
Sprinkler systems represent a versatile and effective solution for garden irrigation, tailoring water distribution to suit various plant needs and…


View More Posts
Don’t Miss Out These Great Deals From Our Ebay Partners!
Syngenta Advion Ant Gel

WiFi Irrigation Controllers
Walk Behind Whipper Snippers
Comments