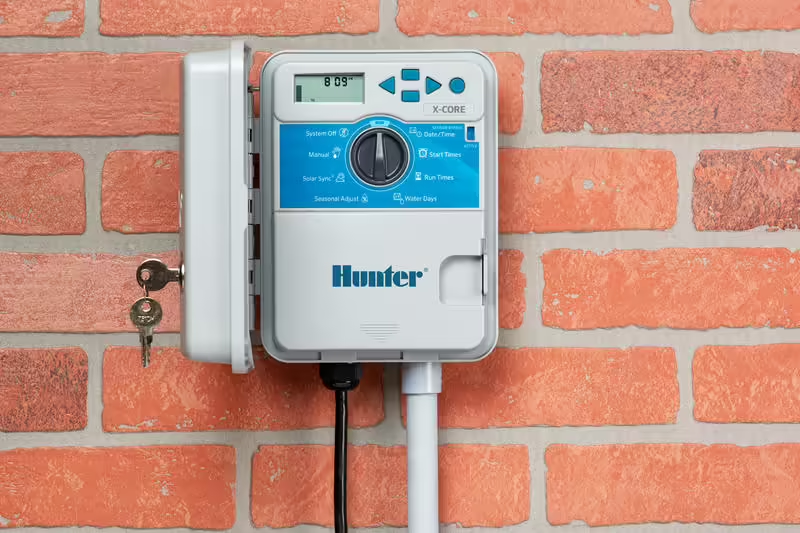
Hunter X-Core Irrigation Controller Installation
Introducing The Hunter X-Core Irrigation Controller
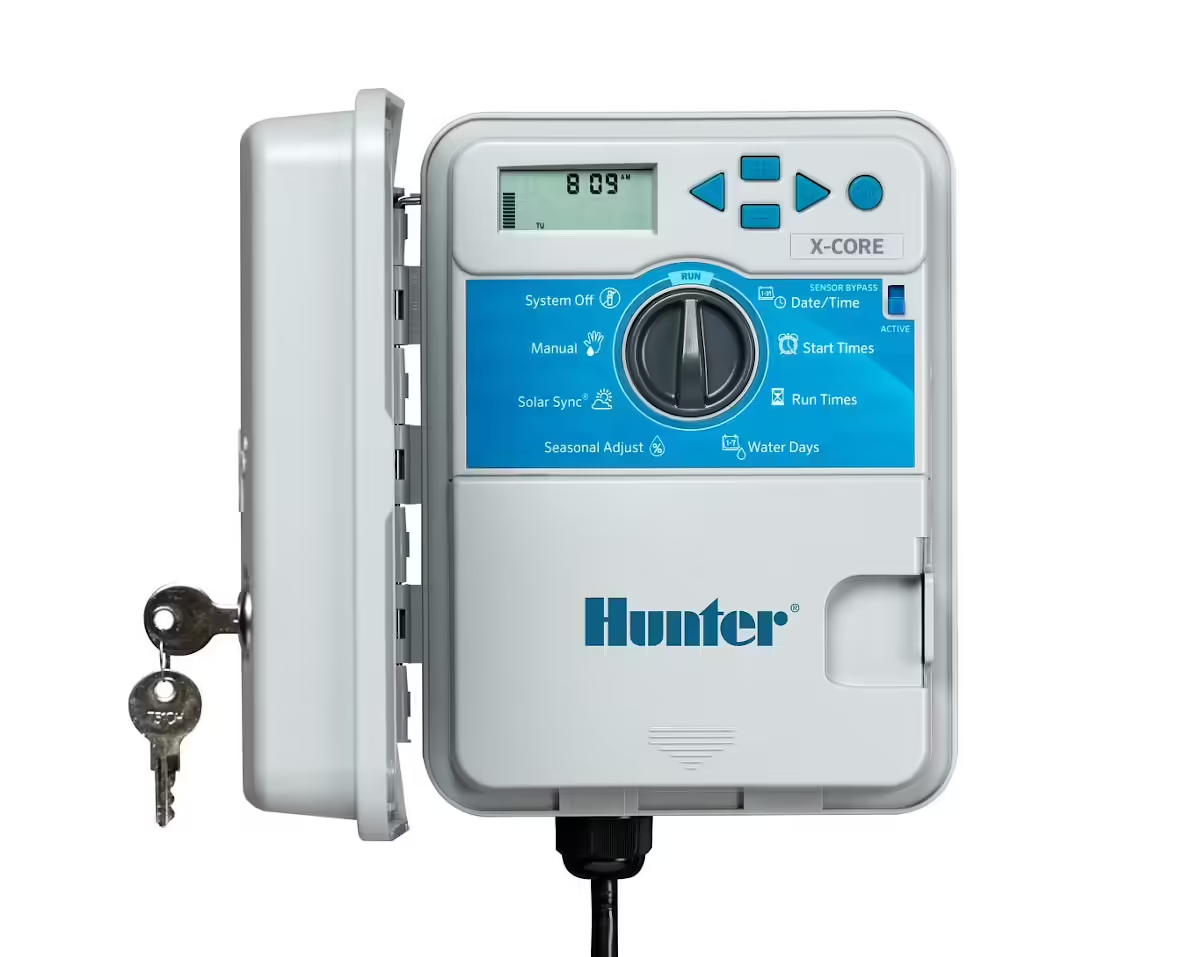
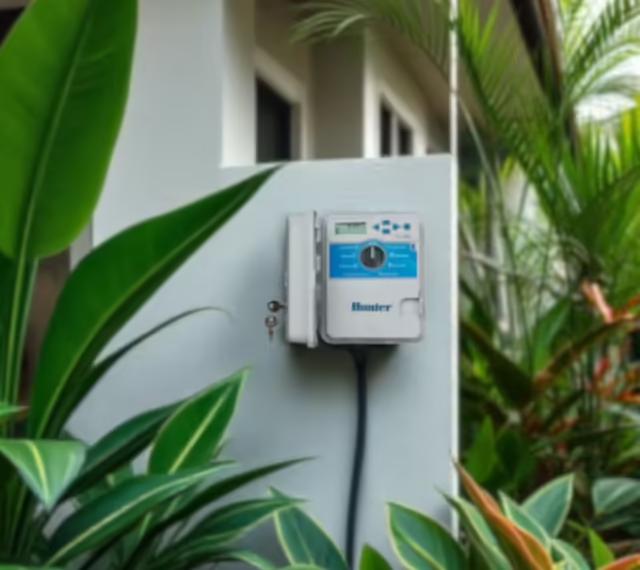
The Hunter X-Core Irrigation Controller is a user-friendly device designed for homeowner irrigation systems, allowing control of up to 8 zones with features like multiple programs, start times, and compatibility with weather sensors for efficient watering. It also includes diagnostics for easy troubleshooting and can be operated manually and automatically. It is suitable for residential applications and is available in both indoor and outdoor models.
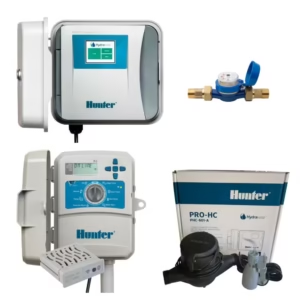
Hunter Industries Hydrawise Series
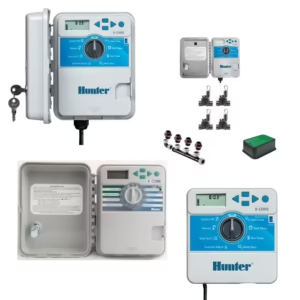
Hunter X-Core Irrigation Controllers
Hunter X-Core: Step-by-Step Instructions
Tools and Materials Needed:
- Hunter X-Core irrigation controller
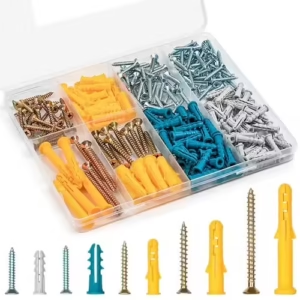
- Mounting screws and anchors
- Screwdriver & drill
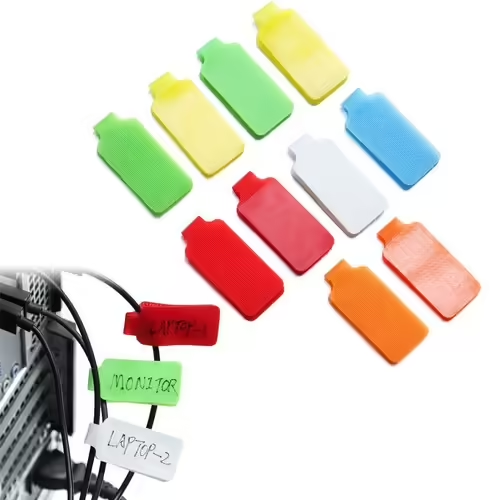
- Wire Identification Labels
- Wire stripper
- Wire connectors
- Multi-meter
1. Choose the Mounting Location:
- Select a convenient location near a power source and close to the irrigation valves.
- Ensure the location is sheltered from direct sunlight and moisture.
- The controller can be installed indoors or outdoors (outdoor models are weather-resistant).
2. Turn Off the Power:
- If replacing an old controller, turn off the power to the existing unit and label the wires according to their station terminal numbers.
- If installing a new system, make sure the main water supply is turned off.
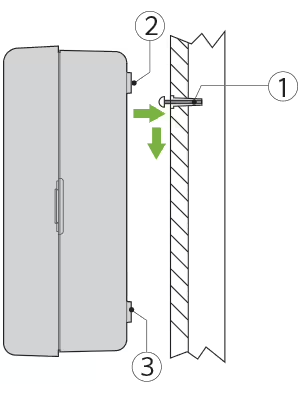
3. Mount the Controller:
- Secure one screw into the wall. Install screw anchors if attaching to drywall or masonry wall.
- Slide the keyhole on top of the controller over the screw.
- Secure the controller in place by installing screws in the two holes below the terminal strip.
4. Connect the Wiring:
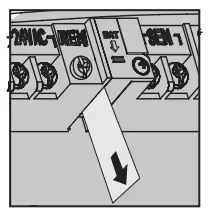
- Remove the Battery Compartment Cover:
- If your model has one, remove the cover to access the sprinkler timer wiring compartment.
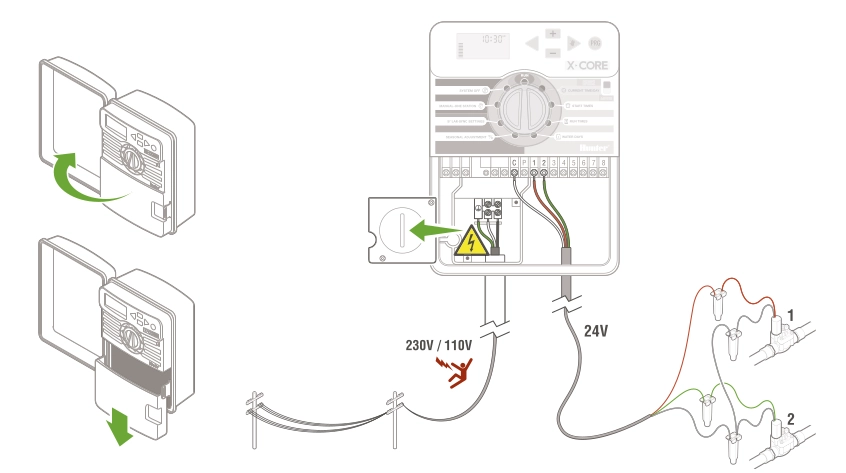
- Route valve wires through the wiring conduit, between the control valve location and controller.
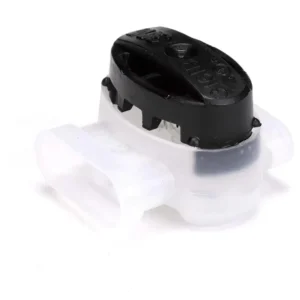
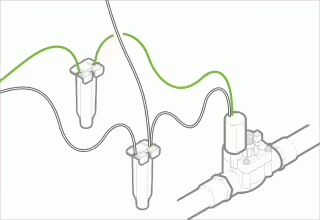
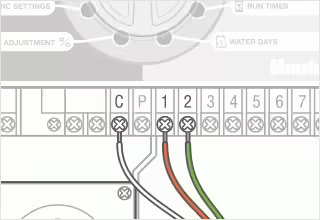
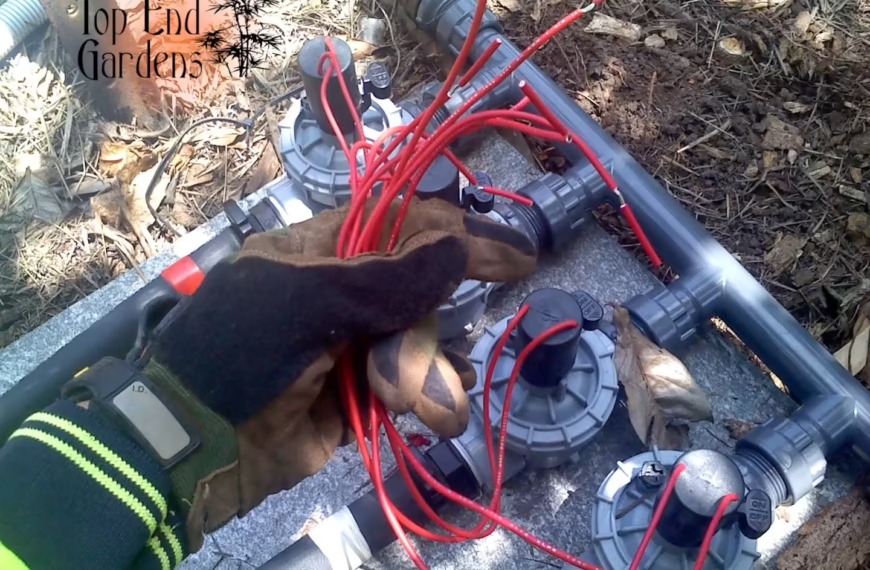
- At the valves, attach a common wire to either solenoid wire on all valves. The colour of the common wire varies by location and/or installer preference, but is usually either the black or white wire. Attach a separate control wire to the remaining wire of each valve. All wire connections should be fastened using waterproof connectors.
- Secure the common wire to the C (Common) screw on the terminal strip. Attach each of the individual valve control wires to the appropriate station terminals and tighten their screws.
⚠️ ⚡ WARNING! Never touch the live 230/110V (mains) wires, doing so may result in serious harm or death. If you’re unsure of which wires are live contact a professional.
Wiring to Irrigation Controller and Solenoids Diagrams


Adjustable Wire Stripper & Cutter Crimper Multi Tool
Brand new
AU $15.99
Buy It Now
Free delivery
192+ sold
Save up to 10% when you buy more
Connect the Pump or Master Valve (if applicable):
Connect the pump start relay or master valve wire to the “P/MV” terminal.
Connect the Rain Sensor (if applicable):
Connect the rain sensor wires to the “SEN” terminals.
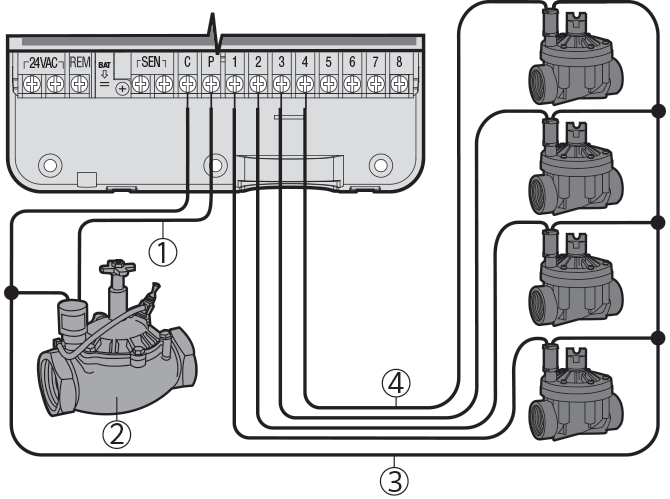
- Pump start relay or master valve wire to the “P/MV” terminal.
- Master valve or pump (if applicable).
- Common wire to master valve (or pump) and solenoids.
- Individual valve control wires to terminal stations.
5. Battery Activation:
After installing your X-Core, make sure to remove the battery contact insulator to allow the X-Core to keep time in the event of a power outage.
Hunter X-Core Controller
CR2032 Lithium Battery
From AU $1.40

6. Test the System:
- Turn the dial to “Manual – All Stations” to run through each zone manually and ensure everything is working correctly.
- Check for any leaks at the valves and ensure all zones operate as expected.
How to Program a Hunter X-Core Irrigation Controller
Any easy to follow guide to help you program your Hunter X-Core irrigation controller.
7. Final Adjustments:
- Return the dial to the “Run” position.
- Secure the controller cover if applicable.
- Make any necessary adjustments to the programming based on your specific needs.
8. Clean Up:
- Ensure all wires are neatly organised and secured.
- Dispose of any packaging materials properly.
Tips
- Label Wires: If you have multiple zones, label the wires during disconnection to easily identify them during reconnection.
- Weather Resistance: If installed outdoors, ensure the cover is properly secured to protect against weather elements.
- Professional Help: If you’re unsure about installation, wiring or electrical connections, feel free to Contact Us.
By following these steps, you should successfully install your Hunter X-Core irrigation controller. Familiarise yourself with the user manual for any additional features and troubleshooting tips.
Electrical Wire Identification Labels
Brand new
AU $7.65 to AU $12.77
Buy It Now
Free delivery
Save up to 30% when you buy more
Upgrade Hunter X-Core with Rain and Soil Moisture Sensors
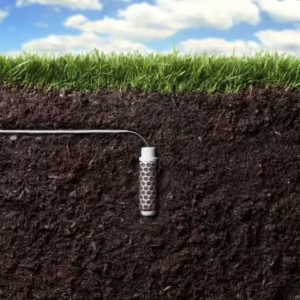
Hunter Soil-Clik Soil Moisture Sensor
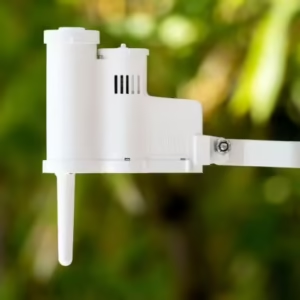
Hunter Rain Clik Sensor
Visit the Hunter Industries website
Irrigation Controllers: Supply, Delivery & Installation
Top End Gardens have been supplying and installing quality irrigation controllers and sprinkler timers for over 20 years. If you’re having issues with your controller or would like to find out more about upgrading, Get in Touch today.
⭐⭐⭐⭐⭐ Don’t Miss Out on These Great Deals From Our Ebay Partners!
TopEndGardens.com is an eBay affiliate partner, that means when you buy through the Top End Gardens website, you can take full advantage of eBay’s Great Benefits and Features, including WorldWide Free Shipping on many items and a 30 Day Money Back Guarantee (Ts & Cs apply). Learn more about the Ebay Partner Network here: https://partnernetwork.ebay.com
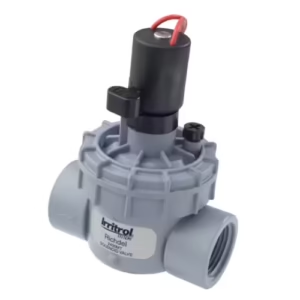
Irrittrol Solenoid Valves
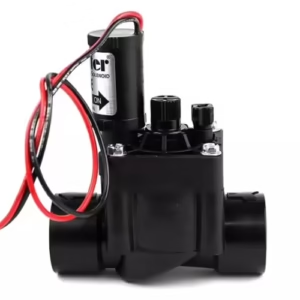
Hunter Irrigation Solenoid Valves

Irrigation Wiring MultiMeters