Programming the Hunter NODE Controller: Part Two – Setting Watering Times
The Hunter Node Irrigation Controller: Setting Watering Start Times
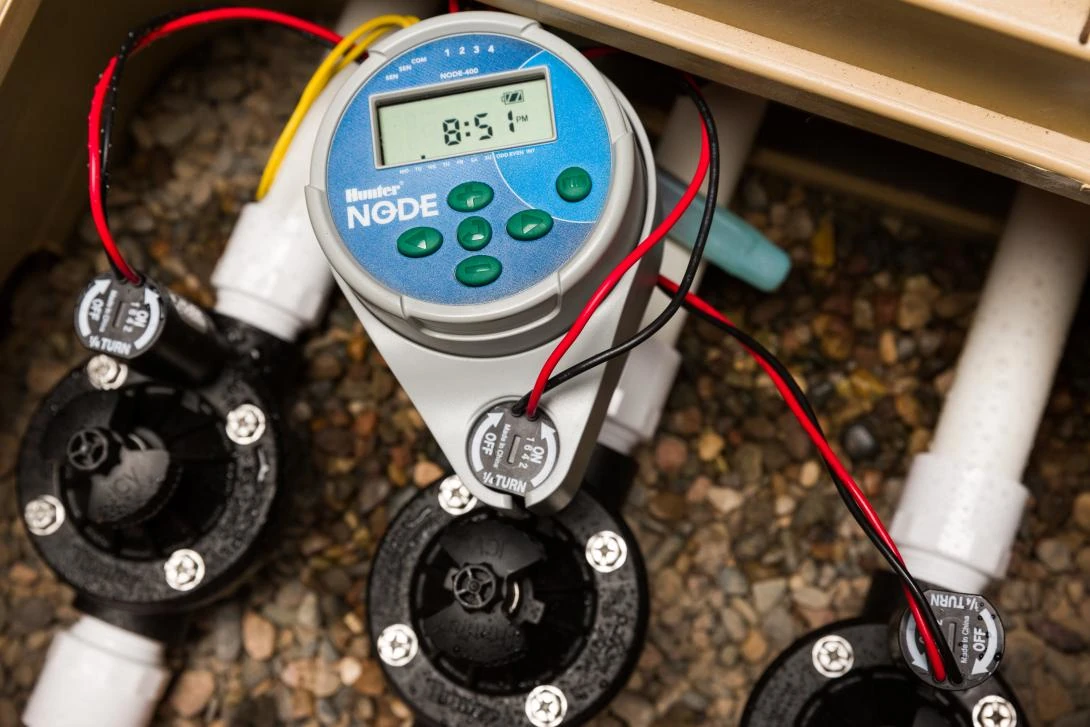
Compatible with various irrigation systems, the Hunter Node series—including models like NODE-100, NODE-200, NODE-400, and NODE-600—offers flexibility and adaptability for different landscape requirements. These controllers can integrate seamlessly with drip, pop-ups, and other irrigation methods, making them suitable for both residential and commercial applications. Features such as multiple timer settings enable users to create specific watering intervals, aligning perfectly with unique plant needs and weather conditions.
How to Program a Hunter Node
Programming the Hunter Node correctly is paramount for effective irrigation management. An improperly set controller can lead to over watering or under watering, both of which can be detrimental to plant health. Hence, understanding the capabilities and functionalities of the Hunter Node is essential for anyone looking to implement or upgrade their irrigation systems. Part Two of this comprehensive guide will delve into the programming intricacies of the Hunter Node Irrigation Controller, continuing with setting the watering start times.
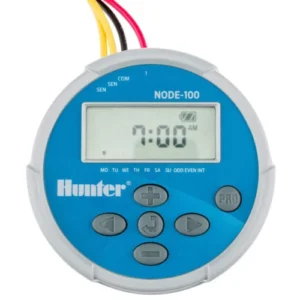
Hunter NODE-100 Sprinkler Controller
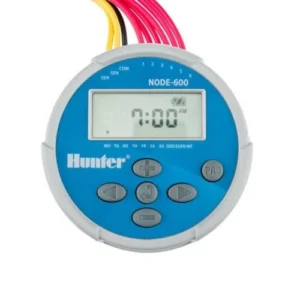
Hunter NODE-600 – 6 Station Timer
Hunter NODE Controller: Programming from the Instruction Manual
Hunter NODE: Setting Watering Start Time Programs
With the steps outlined below, users should be well-equipped to set the watering times on their Hunter NODE sprinkler timer effectively, ensuring year round, lush and healthy plant growth.
- Activating the Hunter NODETo activate your NODE, press the round button in the centre to view the LCD display. If the screen is blank, remove and replace the batteries. If there is still no display contact us to find out about a replacement model.
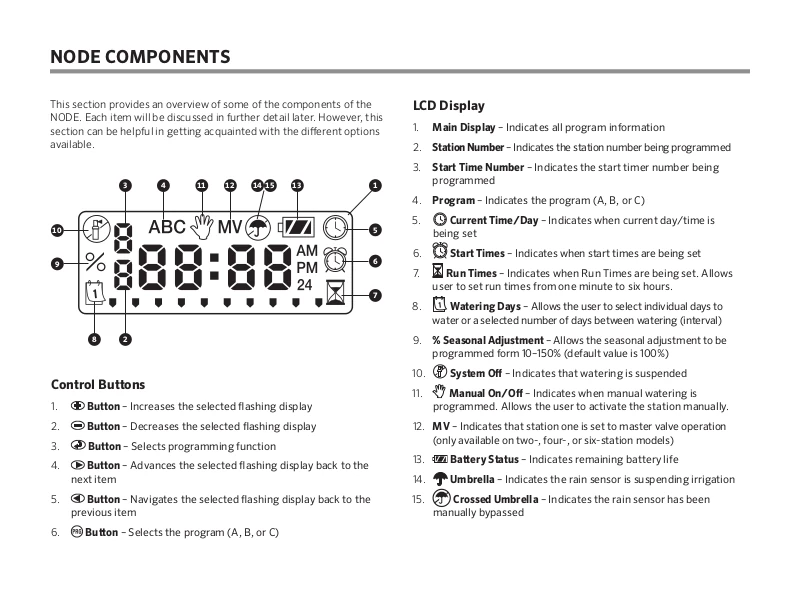
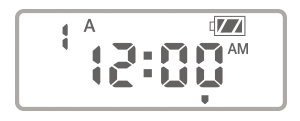
- Start TimesOnce the display is activated press and hold the centre button again, a clock symbol will appear in the top right of the screen. The start time will be displayed flashing, along with the program letter (A, B, or C) and the start time number (1, 2, 3, or 4) in the upper left of the display. Up to 4 different start times can be set for each program. In this mode the numbers do not represent stations, they represent the 4 start times per program. Only one start time is needed to initiate a program. Start times 2, 3, and 4 will repeat the program 2, 3, or 4 times each watering day.
- Change the Start TimeUse the plus (+) or minus (-) buttons to change the start time for the program that is displayed. Each press of the button will change the start time in 15-minute increments.
- Additional Start TimesPress the right arrow (>) button to add an additional start time to the program displayed. The start time number is shown in the upper left corner of the display.
- Additional ProgramsPress the PRG button to add start times to a different program.
- Proceed or idlePress the round centre button to proceed to the next programming function or allow the controller to return to idle mode.
To Eliminate a Start Time
- Start TimesOnce the display is activated press and hold the centre button again, a clock symbol will appear in the top right of the screen. The start time will be displayed flashing, along with the program letter (A, B, or C) and the start time number (1, 2, 3, or 4) in the upper left of the display. Up to 4 different start times can be set for each program.
- Advance to Start TimePress the right arrow (>) button to advance to start time to be eliminated.
- Change the Start TimeUse the plus (+) or minus (-) buttons to change the start time to OFF. Each press of the button will change the start time in 15-minute increments. OFF is between 11:45 pm and 12:00 am
- Additional Start TimesPress the right arrow (>) button to add an additional start time to the program displayed. The start time number is shown in the upper left corner of the display.
- Repeat TimesRepeat for any additional start times you would like to eliminate.
- Proceed or idlePress the round centre button to proceed to the next programming function or allow the controller to return to idle mode.
Example Extra Start Times
Program A has four stations (1-4) assigned to it and the program has one start time at 5:30 AM. At 5:30 AM, station 1 will water, followed by station 2, then station 3, and so on until all four stations have watered.
Individual stations are assigned to a program (A,B,C). Each program requires only one start time to initiate a watering sequence of all the stations assigned to that program. Start times are assigned to programs, not stations. The controller will operate the stations in numerical order. When a station has completed its watering time, the controller will switch to the next station in that program automatically.
Read Programming the Hunter NODE Controller: Part Three – Setting the Watering Run Times
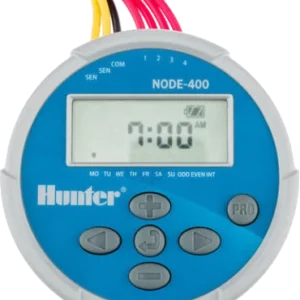
Hunter NODE-400 – 4 Station Timer
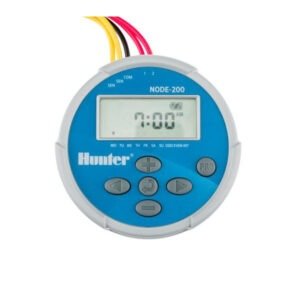
Hunter Node Two Station Battery Timer
If you’re having issues programming your Hunter Node irrigation controller and need help, Get in Touch.
Book an Appointment Now!
Free quotes for irrigation, gardening and landscaping projects are available upon request
Don’t Miss Out These Great Deals From Our Ebay Partners!
Syngenta Advion Ant Gel

WiFi Irrigation Controllers

Walk Behind Whipper Snippers

Comments